Whenever a dataset has dates, it is better to create a date dimension table for performance reasons. Here are the steps to crate a date table:
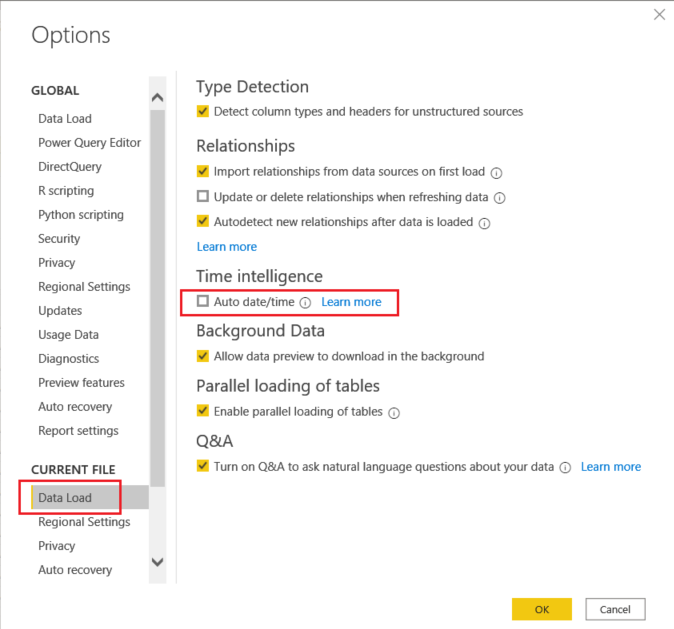
In Power BI Desktop, go to File > Options and settings > Options.

Under "Data Load", uncheck the box for "Auto date/time" and click "OK.
If you know when the start date and end date for the dataset are, that's good. If not, check the data and find the earliest date and latest date on the dataset. (You can create a simple visual to find those dates.)
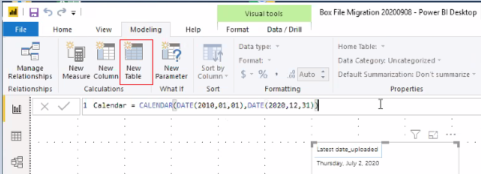
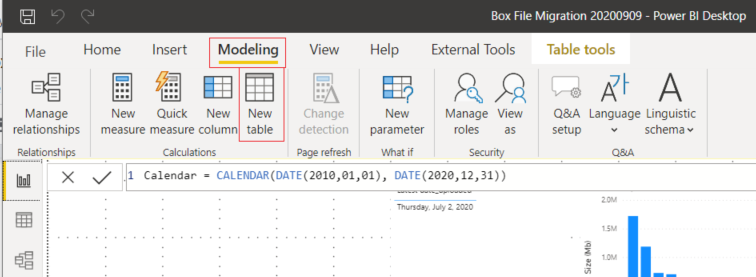
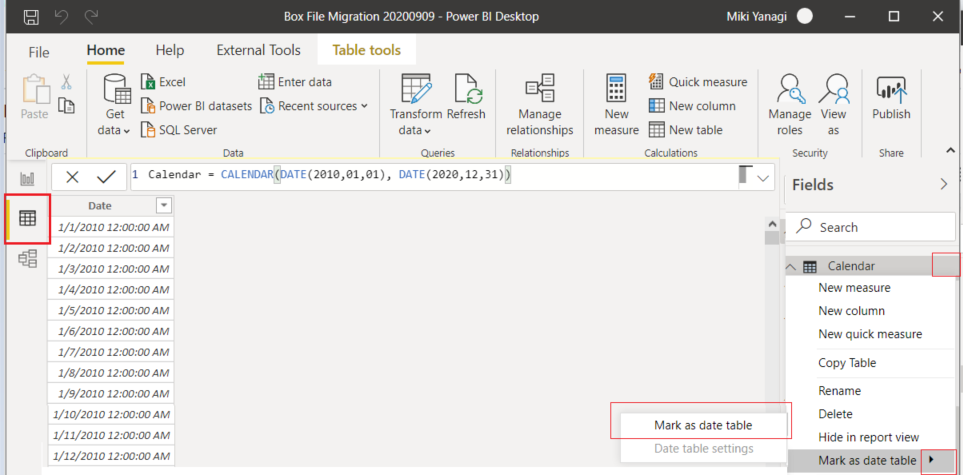
Go to the "Modeling" tab and click "New Table." Type Calendar= CALENDAR(DATE(start date with year, month, date), DATE (end date with year, month, date). In the example below, Calendar= CALENDAR(DATE(2010, 01, 01), DATE (2020, 12, 31), was used.

Go to the Data pane and click the three dots next to the Calendar table you just created. Then, go to Mark as date: table > Mark as date table.

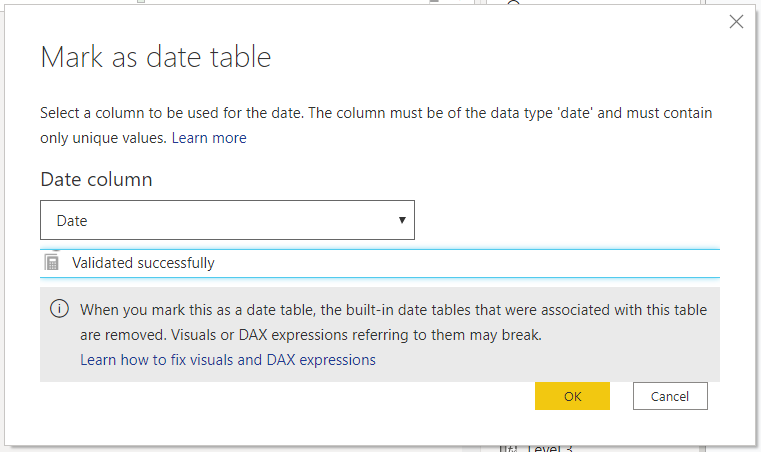
Choose "Date" under the "Date column" and click "OK."

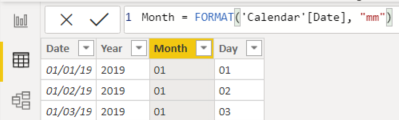
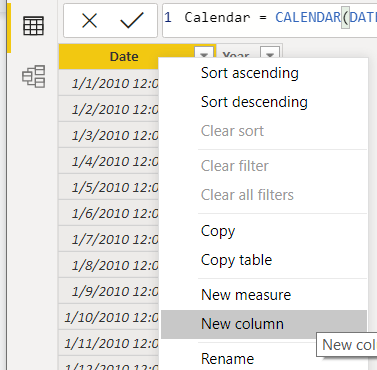
Create a new column by right-clicking the field. Type Year = FORMAT('field name, "yyyy").

You can repeat the same process for the month and day columns. For more FORMAT options, go to https://docs.microsoft.com/en-us/dax/format-function-dax.
Go to the Model pane to create the relationships with the existing table.
(Please note that this process was NOT done in Query Editor (Transform data > Transform data))

HELP IS AT HAND!
 Question, comment, critique? We are here to help and we strive to make our site a comprehensive, user friendly experience. Contact us at DARTS@maine.edu.