
HELP IS AT HAND!
 Question, comment, critique? We are here to help and we strive to make our site a comprehensive, user friendly experience. Contact us at DARTS@maine.edu.
- Open Power BI Desktop to create a new report.
- Connect to the data source. You can follow one of the following pages:
- Connect to a Single Data Source file
- Connect to Multiple Data Source Files
- SQL server (coming soon)
- Build the model. Check the followings check list. Read Tips for Refining Your Data Model for tips.
- format data
- check data type
- assign friendly field names
- define all the relationships and filter directions
- apply sort order of the field
- DAX measures
- custom columns
- hide all the key/id fields
- document model
4. Test the model and calculations
5. Create a simple test visual. The visual can be simple since the actual report creation will happen later.
6. Configure RLS and test roles if needed. See Row Level Security in Power BI page for more information.
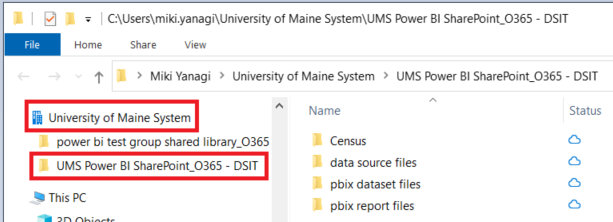
7. Save as PBIX or PBIT file on SharePoint folder to source control. Give it an appropriate name, and then append the name with “- Dataset”. Make sure your desktop and SharePoint folder is synced. If not, please see Sync SharePoint User Libraries to Your Computer for instruction.
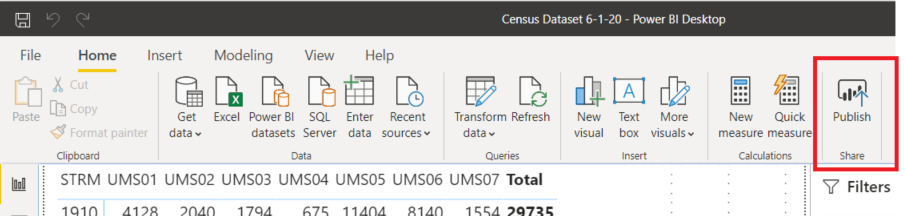
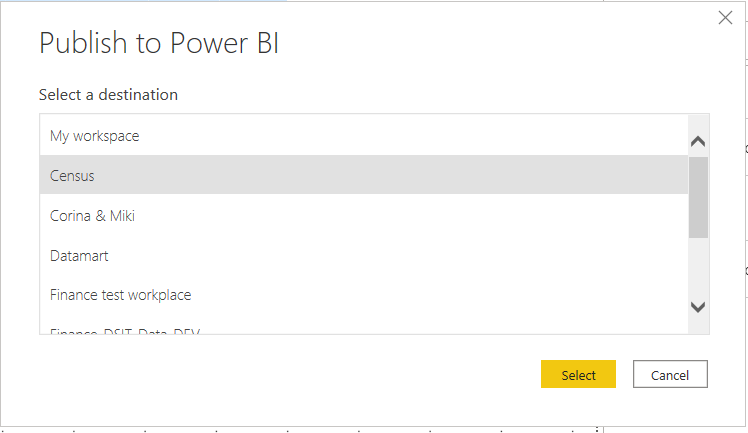
8. Click "Publish" to publish the report to a Power BI service. (Make sure you were signed in) Pick the designated data workspace.
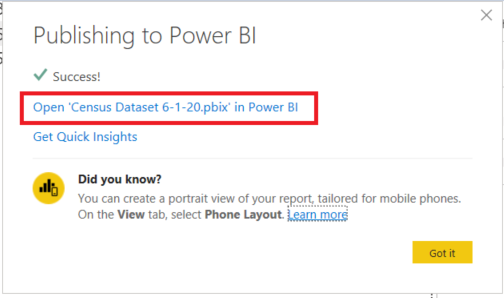
9. Once that report is published, click the link on the pop up window and go to Power BI Service. There will be both a dataset and a report in the workspace.
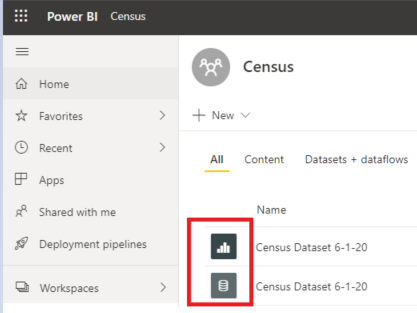
10. Report can now be deleted from data workspace so that the workspace only contains dataset. This will not affect the dataset.
11. Configure Read and Build permissions as needed for users and groups who will be using the data
- Give "Read" access to dataset for the consumers:
Click the ellipses next to the dataset and choose "Manage Permissions".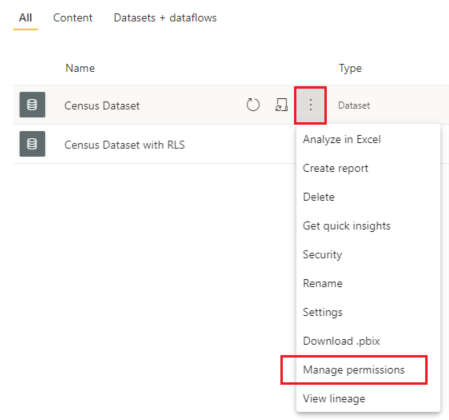
Uncheck the boxes and enter email addresses:
The access should show as "Read".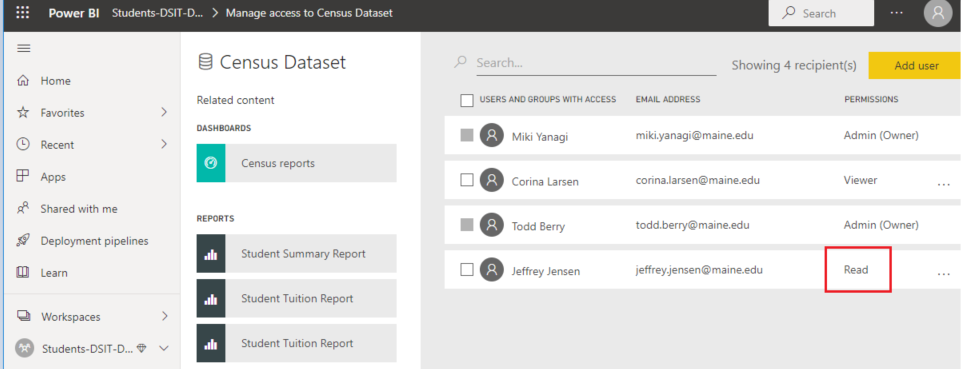
- Give access to data workspace (Choose either Admin/ Member/ Contributor/ Viewer) if the user uses dataset. Click "Access" on the top of the page and add email addresses, If the consumers only read the reports via app, they don't need to get access for workspace. The "Read" access set up on the step above will take care of the access,
- Give "Read" access to dataset for the consumers:
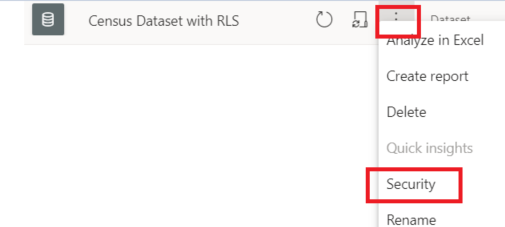
- 12. Configure Row-Level Security (RLS) on the dataset level and assign all users and groups to appropriate roles.
- 13. Perform all the additional QA and Testing and follow through Dataset Certification process (coming soon)
14. Document the model